Ever since announcing Incus, one of the most asked questions was when would we have packages available. And that’s even before we have our first stable release out!
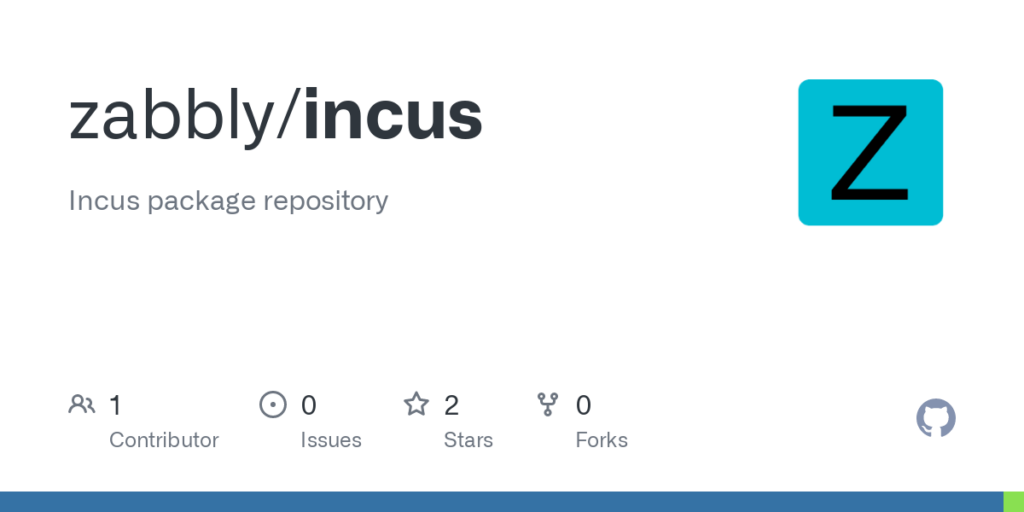
This week I finally dedicated some time to getting us automated daily builds which will now be available moving forward for Debian 11, Debian 12, Ubuntu 20.04 LTS and Ubuntu 22.04 LTS.
Similar to my kernel and ZFS builds, those will be built for both x86_64 and aarch64.
Once we do have a stable release of Incus out, a separate repository for stable builds will also be added. For now, this is only daily builds which are put out there without any testing, so here by dragons!
Instructions
The up to date installation instructions can be found here:
It’s very similar to the kernel and ZFS builds and is signed by the same GPG key, so it’s easy to have all of them on the same system and benefit from the testing being done across them.
NOTE: Once installed, you’ll have to run incusd init, at least for another few more days while we work on rolling out the new incus admin init that will replace it.
As mentioned in today’s YouTube livestream, those packages are very bare at this point.
They do include all the bits needed for Incus, from LXC and LXCFS, to Cowsql, to QEMU and EDK2, but the system integration is still pretty minimal at this stage. There needs to be some work to ensure that things like bash completion works properly, update the systemd units to do proper socket activation, tweak the migration tool to cover more use cases and in general ensure that this is stable across the board.
But having packages at all, unblocks a lot of work we’ve been wanting to do on our CI as we now can just deploy a clean system, add the repository and install a daily build without having to manually build everything from source!
So expect the package to get a whole lot better over the coming days, leading to packaging that will be suitable for the first Incus release when the time comes for that.
It’s now been two months since I left my position at Canonical and went freelance! A lot of things have now all fallen into place to the point where it almost feels like having a normal work routine again 🙂
Kernel and ZFS builds
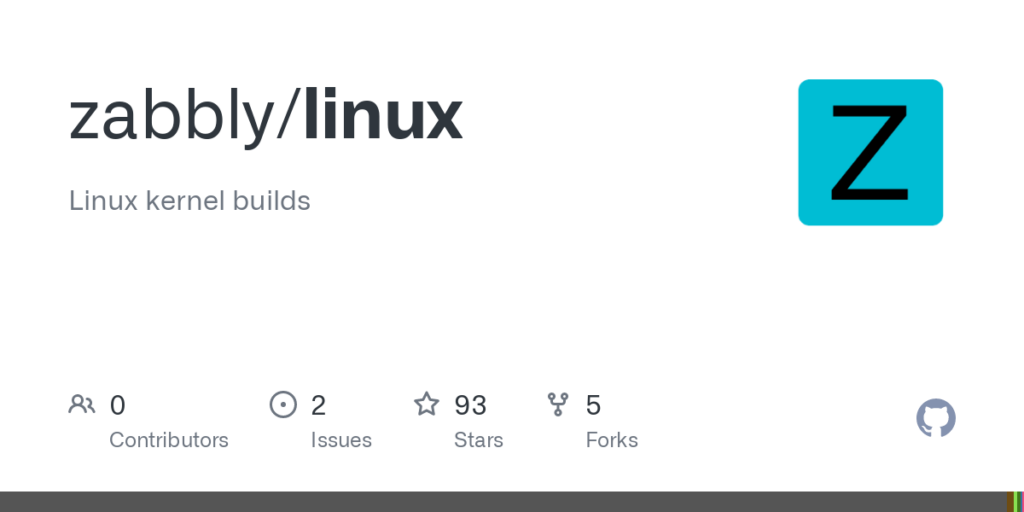
As mentioned in an earlier post, after over a year of rolling my own kernels and manually installing them on all my systems, I’ve decided to spend a bit of time automating the whole process and putting in place a proper build and publishing pipeline.
The result is mainline kernel builds that are updated and tested weekly, made available as Debian packages for Ubuntu 20.04 LTS, Ubuntu 22.04 LTS, Debian 11 and Debian 12 users. You can find those here:
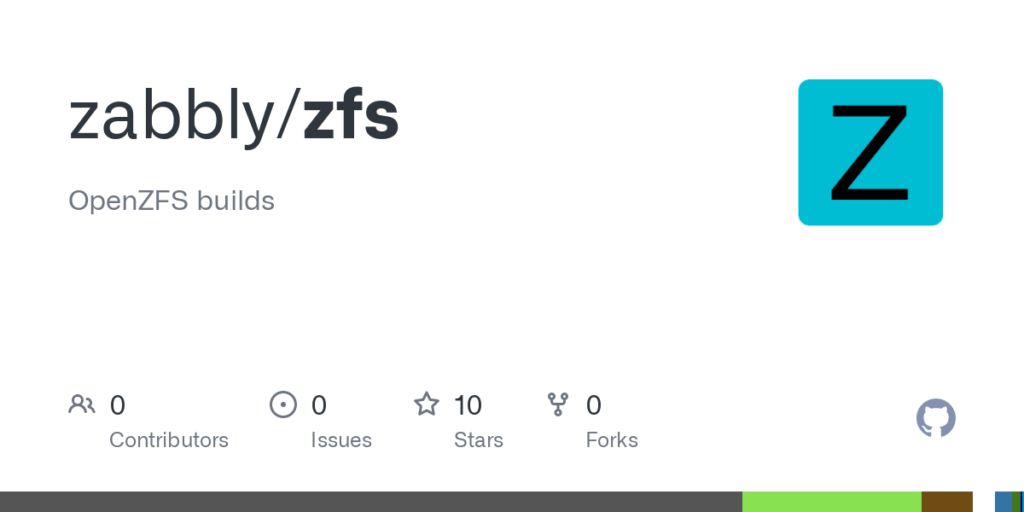
And because I’m still a ZFS user and need a recent ZFS build to go along those mainline kernels, I’ve also started building up to date ZFS packages here:
I’m now running those on a mix of Intel, AMD and Arm systems from single board computers to large AMD EPYC systems and everything has been very smooth so far!
Incus
Most of my time has otherwise been spent working on Incus, the community LXD fork.
We’re almost done with the initial set of breaking changes, primarily removing outdated or irrelevant features, making some CLI changes, …
Recently I’ve been focusing on re-organizing the various Go packages in the codebase, trying to get all of those out of the way before I spend any amount of time working on the tooling to import LXD changes into Incus.
And I’ve also been spending some time working on the migration tool to transition users from LXD to Incus. There’s still some work to be done, but we’ve converted a dozen systems or so with minimal additional work needed!
Next up for Incus is going to be some initial packages that will be available for Ubuntu and Debian users, making it a lot easier to automate testing and for early adopters to give it a try!
Currently the hope is for an initial release of Incus towards the end of September or early October.
Youtube
Last month I mentioned that I created a new YouTube channel, though at the time, there was no content on it yet. This has since changed!
I’ve been trying to do a live stream per week, showcasing some of the work going on with Incus. So far, there’s a video showing me manually switching my main desktop machine from LXD to Incus, another on fixing some smaller issues and the last one showcases the creation of the aforementioned LXD to Incus migration tool.
I’ll probably try to keep the weekly live stream going for a little while, at least until we have an initial Incus release out and can work on shorter, more thought-through videos showcasing various aspects of Incus.
Using Debian again
With the work to get my kernel and ZFS builds to be available to both Ubuntu and Debian users, along with the recent release of Debian 12, I’ve decided to give Debian a go on my main desktop machine.
I’ve been an Ubuntu user since 2004 so it had been almost 20 years since I last used Debian for more than a 30 minutes test in a container. Overall, things went pretty smoothly. I don’t really need all that much to have a functional system and found that starting from a minimal installation made it pretty simple to get my system up and running with as few packages and random daemons running as possible.
The bulk of my day to day work happens in VMs, containers and on remote servers, so I’ve not really noticed any visible difference so far. I imported my home directory and all my Incus data from my Ubuntu install and after re-installing all my usual packages, I’ve effectively got a system that feels identical to my old Ubuntu install, minus the nagging to get me to use Ubuntu ESM 🙂
I’m still an Ubuntu Core Developer and I’ll still be using Ubuntu on a number of other machines, but it’s definitely been great to see where Debian got after all these years and I expect I’ll be using it more in the years to come!
Sponsorship
As mentioned last month, I’ve setup a business here in Canada so I can easily handle contract work, consultation, trainings, … And I’m quite happy that I’ve already gotten to do a fair amount of that with quite a bit more expected to come over the next few months!
If there’s some project that you think I may be able to help you with, you can let me know at info@zabbly.com
On top of that, I’ve gotten into the Github Sponsorship program too. This makes it pretty easy to receive both one-off and recurring contributions from users or organizations that appreciate the open source work I’ve been doing and want to help out!
Conclusion
Two months in, quite a lot has happened, quite a lot has changed from my old day to day, more management-focused work. I’m happy that a normal day for me now involves a lot more working on code, problem solving and interacting with other passionate members of the open source community and a lot less recurring meetings and JIRA updates 🙂
I’m excited about what’s coming over the next few months, especially getting an initial release of Incus out the door and to users as well as some other exciting projects I’m only starting to work on now!
For the past year or so, I’ve increasingly been using mainline Linux kernels on my various servers and eventually laptop and desktop machines too.
That was transitioning from Ubuntu’s generic kernel which I feel has sadly decreased in quality over time. The Ubuntu kernel includes a lot of backported fixes and occasionally, those backports go bad, resulting in missing commits, introducing bugs and regressions. Unfortunately the way the Ubuntu kernel is built, tested and published comes with a lot of delays, making fixing such regressions often take weeks if not months (depending on whether security updates show up in between).
So I started taking the latest stable bugfix release of the mainline kernel, generate a configuration that’s very close to an Ubuntu generic kernel, cherry-pick a few small changes that aren’t upstream yet and then build that and push it to my machines.
That’s been working surprisingly well so far! Those kernels haven’t been perfect, I did catch a couple of regressions, but as I’m now working with a mainline kernel, performing a bisect, identifying the offending commit and getting it resolved upstream is very easy, with a revert taking an hour or so at most and a fix taking just a few days to hit mainline.
Making them available to everyone
Up until now, I’ve been manually building those kernels from an internal git repository, building them directly on a couple of servers (amd64 and arm64) and then transferring the resulting .debs directly to my other machines.
That works, but it’s not a particularly clean build environment and installing kernels that way doesn’t really scale!
That’s why I’ve now spent a few days moving it all to Github and a proper package repository.
For building, I’m using some self-hosted Github runners on my local Incus cluster so I can have access to beefy Debian and Ubuntu builders on both amd64 and arm64.
The result is a repository that contains both amd64 and arm64 builds for Ubuntu 20.04 LTS, Ubuntu 22.04 LTS and Debian 12. This is all automatically built and automatically imported into the repository with the only manual step being to update the “linux-zabbly” meta-package after testing the new kernel on some test systems.
Using them
Installation instructions can be found here: https://github.com/zabbly/linux#installation Just keep in mind that you’ll most likely have to disable UEFI SecureBoot as those kernel builds aren’t signed unlike those that come directly from your distribution.
The kernel will be updated once a week unless something major happens requiring an intermediate update. It will roll from one kernel version to the next after it has received its first bugfix release which has so far been a good way to avoid some of those initial regressions!
ZFS
I use ZFS quite extensively to store local containers and VMs on Incus. The Ubuntu kernel ships with a built-in version of ZFS but to keep the Zabbly kernel clean, I opted not to do that.
This currently contains ZFS 2.2rc3 and will be updated with new release candidates and eventually the 2.2 stable release. The decision to ship 2.2 rather than stick to 2.1 is motivated by ZFS 2.2 properly handling VFS idmap shift, a critical feature for Incus.
That repository includes both openzfs-zfs-dkms, the package providing the kernel driver as well as the usual set of tools used to manage zfs, openzfs-zfsutils.
It’s now been a whole month since I left Canonical and started working as an independent!
This has been quite the month, both professionally and personally! In no particular order, this included, setting up a new business, dealing with a somewhat last minute datacenter move (thankfully just one floor down), doing some initial sponsored work, helping out with a LXD fork, selling a house and caring for a sick cat (now all back to normal).
Given everything that’s been happening, I thought I’d use the opportunity to write down some details on the most relevant things I’ve been doing and what to expect moving forward.
Zabbly
Zabbly is the name of the business I’ve registered here in Canada.
I didn’t really like the idea of doing all business moving forward just under my own name as I may want to sub-contract some aspects of it or even have employees down the line. Having the business part of my life have its own name will make that a fair bit cleaner.
For now, the main things that have been moved over to Zabbly are my organization and IP allocations with ARIN, membership on the Montreal Internet Exchange (QIX) and a number of associated contracts related to AS399760 (my BGP ASN). As part of that, Zabbly is also now listed as the sponsor for all the Linux Containers infrastructure.
Allowing to more clearly separate personal and work-related expenses is going to be another benefit of this move even if legally and from a tax point of view, it’s still all me.
ZFS delegation
An initial bit of sponsored work I got to do this month has been adding support for ZFS delegation to LXD. This makes use of a ZFS 2.2 feature which allows for a dataset to be delegated to a particular user namespace. The ZFS tools can then be used from within that container to create nested datasets or manage snapshots.
This is very exciting as it was the one feature that btrfs had which ZFS offered no equivalent for. It should allow for things like running Docker with the ZFS backend inside of LXD containers, having VPS users be able to create their own datasets, handled their own snapshots and be able to send and receive datasets.
This was quite an exciting development and the LXC team spent quite a bit of time over the past couple weeks chatting with Aleksa and seeing where things were headed.
On my end, I initially helped out trying to make the thing actually pass the testsuite, quite a bit harder than it may sound when dealing with a pretty big codebase and everything having been renamed! I also contributed some ideas of what such a fork may want to change compared to stock LXD.
It’s not often that you get a second chance at designing something like LXD/Incus. While having a working upgrade path and good backward compatibility is obviously still very important, the fact that anyone migrating will need to deal with some amount of manual work also makes it possible to do away with past mistakes and remove some bits that are seldom used.
I expect I’ll be spending a bunch of my time over the next couple of months helping get Incus into a releasable state. Continuing with the current cleanups, getting the documentation back into shape, putting CI and publishing infrastructure back online (basically re-using what I was once providing to LXD).
The biggest task yet to come is to write tooling and processes to monitor changes happening in Canonical’s LXD and then cherry-pick those into Incus. Again, the hard fork, name and path changes and variety of other changes is going to make that a bit of a challenge but once done, it should make it quite easy to do weekly syncs and reviews of changes.
What’s next
As mentioned, I expect to spend a fair bit of my time over the next few weeks/months helping out with Incus, getting it into shape for an initial release.
I’m all set up for contract work and sponsorship now, so if there’s anything you think I can do for you, feel free to reach out at info@zabbly.com.
I’ve also been added to the Github Sponsors program, so if you’d just like to help out with my work on those various projects, that’s available too: https://github.com/sponsors/stgraber
After a bit over 12 years working for Canonical, Friday 7th of July was my last day.
It’s a bit of a bittersweet moment leaving a company after you’ve invested so much of your time into it, but I believe that now was the right time for me. As I’ve told colleagues and upper management, Canonical isn’t the company I excitedly joined back in 2011 and it’s not a company that I would want to join today, therefore it shouldn’t be a company that I keep working for either.
I’ll most miss working with the LXD team. Canonical is truly lucky to have such a great team of engineers going above and beyond to support a project like LXD. It’s quite unique to have a small team with such a wide variety of skills ranging from kernel development, to distributed systems, to web frontends and documentation, all working together to make a project like LXD possible.
LXD
Following the announcement of my resignation, Canonical decided to pull LXD out of the Linux Containers projects and relocate it to a full in-house project. That’s the news which we announced last week.
I obviously wish that this particular change hadn’t happened, I strongly see value in having a project like LXD be run in a more open, community environment where everyone’s opinion is valued and everyone’s contribution, no matter the size, is welcome. Having the “LXD community experiment” be labeled a failure within Canonical seems unfair to me and to everyone who contributed over the years.
As for my particular involvement in Canonical’s LXD moving forward, I will definitely remain an active user of LXD and will likely still be filing issues and the occasional fix. However, I don’t intend to ever sign Canonical’s CLA, so should that become a barrier to contribution for the project, I will have to stop contributing to it.
Ubuntu
On the Ubuntu front, I’m currently a mostly inactive member of the Ubuntu Release team, Ubuntu Archive team and Ubuntu SRU team. I will be stepping down from all of those as I struggled to find any time to help them out while working for Canonical full time and don’t expect things to improve now.
I will remain an Ubuntu Core Developer and may contribute the occasional bugfix, package updates or new packages here and there. I don’t have any plans to move away from Ubuntu for my own systems.
Future
As for what I’ll be doing next. One thing I can share immediately is that I’m not joining another company nor do I have any intention to join another company at this stage.
I’m going to start by working on a number of pet projects that I’ve either neglected or been unable to even start so far. Some of those could lead to a source of revenue, some others will just be for the community’s benefit.
I’m also getting setup for freelance work, so will be able to accept the occasional consultancy or training contract where those make sense for me.
Conclusion
It’s a bit of an end of an era for me, a lot has changed over those 12 years both personally and in the industry, so I’m looking forward to have some time to reset and figure out what’s next!


 Github
 Twitter
 LinkedIn
 Mastodon