
Introduction

The Linux Containers project maintains Long Term Support (LTS) releases for its core projects. Those come with 5 years of support from upstream with the first two years including bugfixes, minor improvements and security fixes and the remaining 3 years getting only security fixes.
This is now the third round of bugfix releases for LXC, LXCFS and Incus 6.0 LTS.
LXC
LXC is the oldest Linux Containers project and the basis for almost every other one of our projects. This low-level container runtime and library was first released in August 2008, led to the creation of projects like Docker and today is still actively used directly or indirectly on millions of systems.
Announcement: https://discuss.linuxcontainers.org/t/lxc-6-0-3-lts-has-been-released/22402
Highlights of this point release:
- Added support for PuzzleFS images in lxc-oci
- SIGHUP is now propagated through lxc.init
- Reworked testsuite including support for 64-bit Arm
LXCFS
LXCFS is a FUSE filesystem used to workaround some shortcomings of the Linux kernel when it comes to reporting available system resources to processes running in containers. The project started in late 2014 and is still actively used by Incus today as well as by some Docker and Kubernetes users.
Announcement: https://discuss.linuxcontainers.org/t/lxcfs-6-0-3-lts-has-been-released/22401
Highlights of this point release:
- Better detection of swap accounting support
- Reworked testsuite including support for 64-bit Arm
Incus
Incus is our most actively developed project. This virtualization platform is just over a year old but has already seen over 3500 commits by over 120 individual contributors. Its first LTS release made it usable in production environments and significantly boosted its user base.
Announcement: https://discuss.linuxcontainers.org/t/incus-6-0-3-lts-has-been-released/22403
Highlights of this point release:
- OS info for virtual machines (
incus info) - Console history for virtual machines (
incus console --show-log) - Ability to create clustered LVM pools directly through Incus
- QCOW2 and VMDK support in
incus-migrate - Configurable macvlan mode (
bridge,vepa,passthruorprivate) - Load-balancer health information (
incus network load-balancer info) - External interfaces in OVN networks (support for
bridge.external_interfaces) - Parallel cluster evacuation/restore (on systems with large number of CPUs)
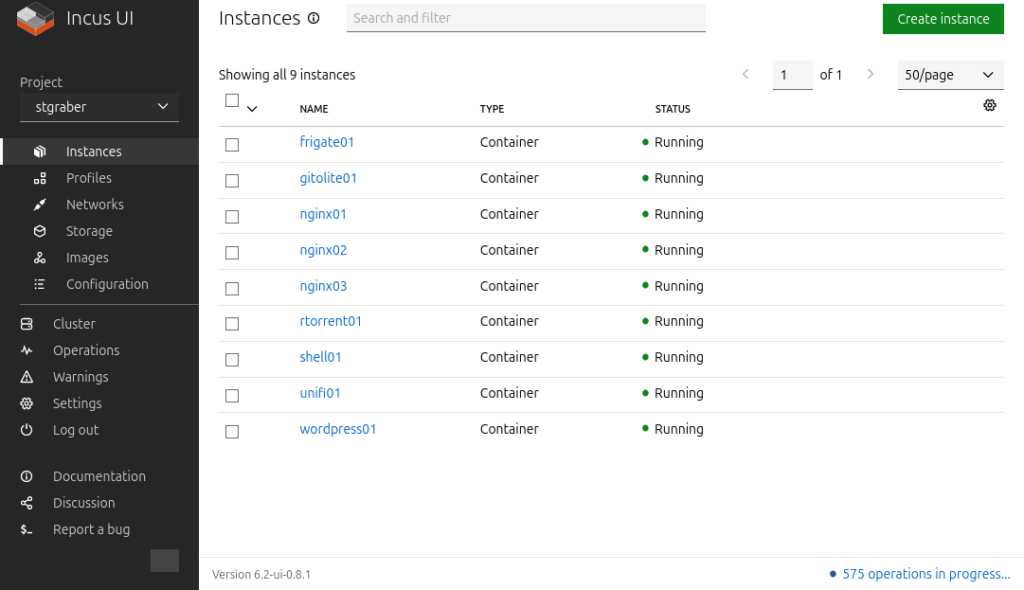
- Introduction of
incus webuias a quick way to access the web interface - Automatic cluster re-balancing
- Partial instance/volume refresh (
incus copy --refresh-exclude-older --refresh) - Configurable columns, formatting and refresh time in
incus top - Support for DHCP ranges in OVN (
ipv4.dhcp.ranges) - Support for changing the backing interface of a managed physical network
- Extended QEMU scriptlet (additional functions)
- New log file for QEMU QMP traffic (
qemu.qmp.log) - New
get_instances_countfunction available in placement scriptlet - Support for
--formatinincus admin sql - Storage live migration for virtual machines
- New authorization scriptlet as an alternative to OpenFGA
- API to retrieve console screenshots
- Configurable initial owner for custom storage volumes (
initial.uid,initial.gid,initial.mode) - Image alias reuse on import (
incus image import --reuse --alias) - New
incus-simplestreams prunecommand - Console access locking (
incus console --forceto override)
What’s next?
We’re expecting another LTS bugfix release for the 6.0 branches in the first quarter of 2025.
We’re also actively working on a new stable release (non-LTS) for LXCFS.
Incus will keep going with its usual monthly feature release cadence.
Thanks
This LTS release update was made possible thanks to funding provided by the Sovereign Tech Fund (now part of the Sovereign Tech Agency).
The Sovereign Tech Fund supports the development, improvement, and maintenance of open digital infrastructure. Its goal is to sustainably strengthen the open source ecosystem, focusing on security, resilience, technological diversity, and the people behind the code.
Find out more at: https://www.sovereign.tech


 Github
 Twitter
 LinkedIn
 Mastodon