

USB devices in containers
It can be pretty useful to pass USB devices to a container. Be that some measurement equipment in a lab or maybe more commonly, an Android phone or some IoT device that you need to interact with.
Similar to what I wrote recently about GPUs, LXD supports passing USB devices into containers. Again, similarly to the GPU case, what’s actually passed into the container is a Unix character device, in this case, a /dev/bus/usb/ device node.
This restricts USB passthrough to those devices and software which use libusb to interact with them. For devices which use a kernel driver, the module should be installed and loaded on the host, and the resulting character or block device be passed to the container directly.
Note that for this to work, you’ll need LXD 2.5 or higher.
Example (Android debugging)
As an example which quite a lot of people should be able to relate to, lets run a LXD container with the Android debugging tools installed, accessing a USB connected phone.
This would for example allow you to have your app’s build system and CI run inside a container and interact with one or multiple devices connected over USB.
First, plug your phone over USB, make sure it’s unlocked and you have USB debugging enabled:
stgraber@dakara:~$ lsusb
Bus 002 Device 003: ID 0451:8041 Texas Instruments, Inc.
Bus 002 Device 002: ID 0451:8041 Texas Instruments, Inc.
Bus 002 Device 001: ID 1d6b:0003 Linux Foundation 3.0 root hub
Bus 001 Device 021: ID 17ef:6047 Lenovo
Bus 001 Device 031: ID 046d:082d Logitech, Inc. HD Pro Webcam C920
Bus 001 Device 004: ID 0451:8043 Texas Instruments, Inc.
Bus 001 Device 005: ID 046d:0a01 Logitech, Inc. USB Headset
Bus 001 Device 033: ID 0fce:51da Sony Ericsson Mobile Communications AB
Bus 001 Device 003: ID 0451:8043 Texas Instruments, Inc.
Bus 001 Device 002: ID 072f:90cc Advanced Card Systems, Ltd ACR38 SmartCard Reader
Bus 001 Device 001: ID 1d6b:0002 Linux Foundation 2.0 root hub
Spot your phone in that list, in my case, that’d be the “Sony Ericsson Mobile” entry.
Now let’s create our container:
stgraber@dakara:~$ lxc launch ubuntu:16.04 c1
Creating c1
Starting c1
And install the Android debugging client:
stgraber@dakara:~$ lxc exec c1 -- apt install android-tools-adb
Reading package lists... Done
Building dependency tree
Reading state information... Done
The following NEW packages will be installed:
 android-tools-adb
0 upgraded, 1 newly installed, 0 to remove and 0 not upgraded.
Need to get 68.2 kB of archives.
After this operation, 198 kB of additional disk space will be used.
Get:1 http://archive.ubuntu.com/ubuntu xenial/universe amd64 android-tools-adb amd64 5.1.1r36+git20160322-0ubuntu3 [68.2 kB]
Fetched 68.2 kB in 0s (0 B/s)
Selecting previously unselected package android-tools-adb.
(Reading database ... 25469 files and directories currently installed.)
Preparing to unpack .../android-tools-adb_5.1.1r36+git20160322-0ubuntu3_amd64.deb ...
Unpacking android-tools-adb (5.1.1r36+git20160322-0ubuntu3) ...
Processing triggers for man-db (2.7.5-1) ...
Setting up android-tools-adb (5.1.1r36+git20160322-0ubuntu3) ...
We can now attempt to list Android devices with:
stgraber@dakara:~$ lxc exec c1 -- adb devices
* daemon not running. starting it now on port 5037 *
* daemon started successfully *
List of devices attached
Since we’ve not passed any USB device yet, the empty output is expected.
Now, let’s pass the specific device listed in “lsusb” above:
stgraber@dakara:~$ lxc config device add c1 sony usb vendorid=0fce productid=51da
Device sony added to c1
And try to list devices again:
stgraber@dakara:~$ lxc exec c1 -- adb devices
* daemon not running. starting it now on port 5037 *
* daemon started successfully *
List of devices attached
CB5A28TSU6 device
To get a shell, you can then use:
stgraber@dakara:~$ lxc exec c1 -- adb shell
* daemon not running. starting it now on port 5037 *
* daemon started successfully *
E5823:/ $
LXD USB devices support hotplug by default. So unplugging the device and plugging it back on the host will have it removed and re-added to the container.
The “productid” property isn’t required, you can set only the “vendorid” so that any device from that vendor will be automatically attached to the container. This can be very convenient when interacting with a number of similar devices or devices which change productid depending on what mode they’re in.
stgraber@dakara:~$ lxc config device remove c1 sony
Device sony removed from c1
stgraber@dakara:~$ lxc config device add c1 sony usb vendorid=0fce
Device sony added to c1
stgraber@dakara:~$ lxc exec c1 -- adb devices
* daemon not running. starting it now on port 5037 *
* daemon started successfully *
List of devices attached
CB5A28TSU6 device
The optional “required” property turns off the hotplug behavior, requiring the device be present for the container to be allowed to start.
More details on USB device properties can be found here.
Conclusion
We are surrounded by a variety of odd USB devices, a good number of which come with possibly dodgy software, requiring a specific version of a specific Linux distribution to work. It’s sometimes hard to accommodate those requirements while keeping a clean and safe environment.
LXD USB device passthrough helps a lot in such cases, so long as the USB device uses a libusb based workflow and doesn’t require a specific kernel driver.
If you want to add a device which does use a kernel driver, locate the /dev node it creates, check if it’s a character or block device and pass that to LXD as a unix-char or unix-block type device.
Extra information
The main LXD website is at: https://linuxcontainers.org/lxd
Development happens on Github at: https://github.com/lxc/lxd
Mailing-list support happens on: https://lists.linuxcontainers.org
IRC support happens in: #lxcontainers on irc.freenode.net
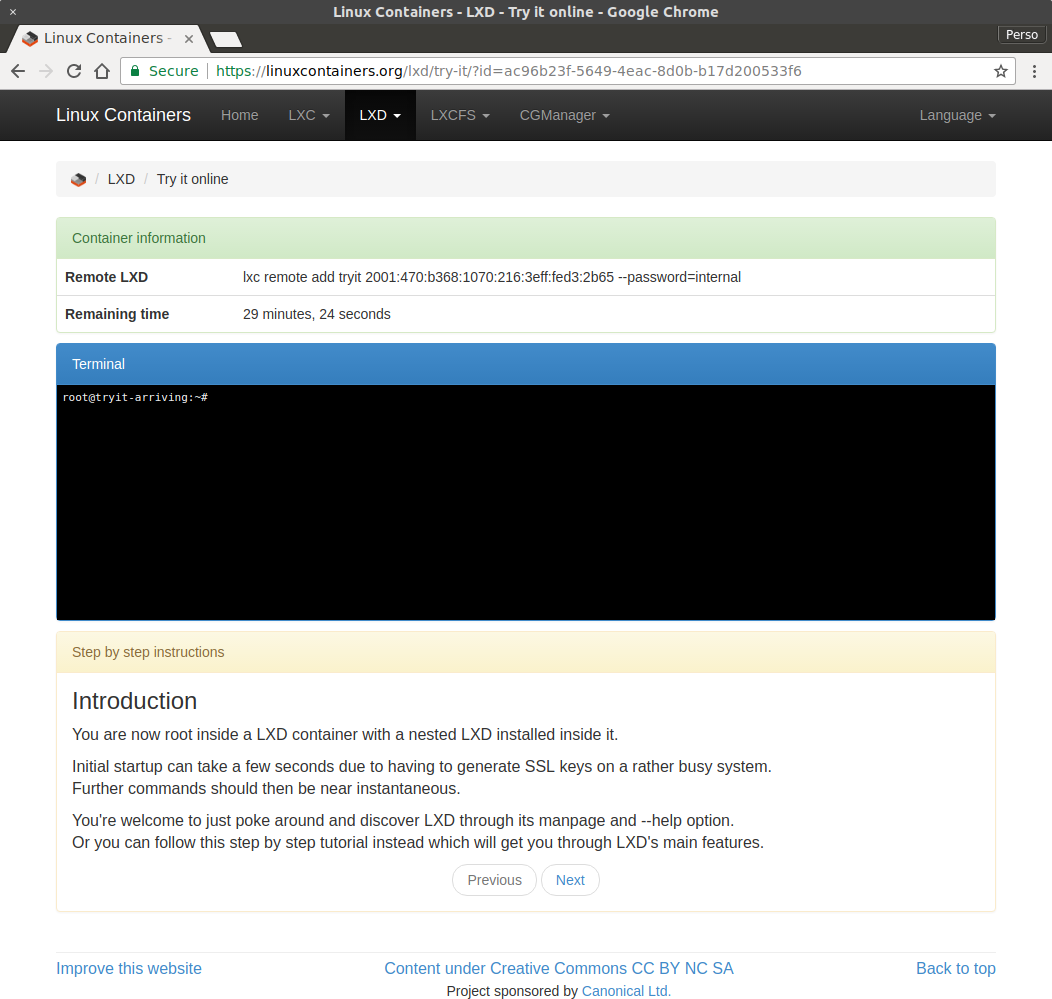
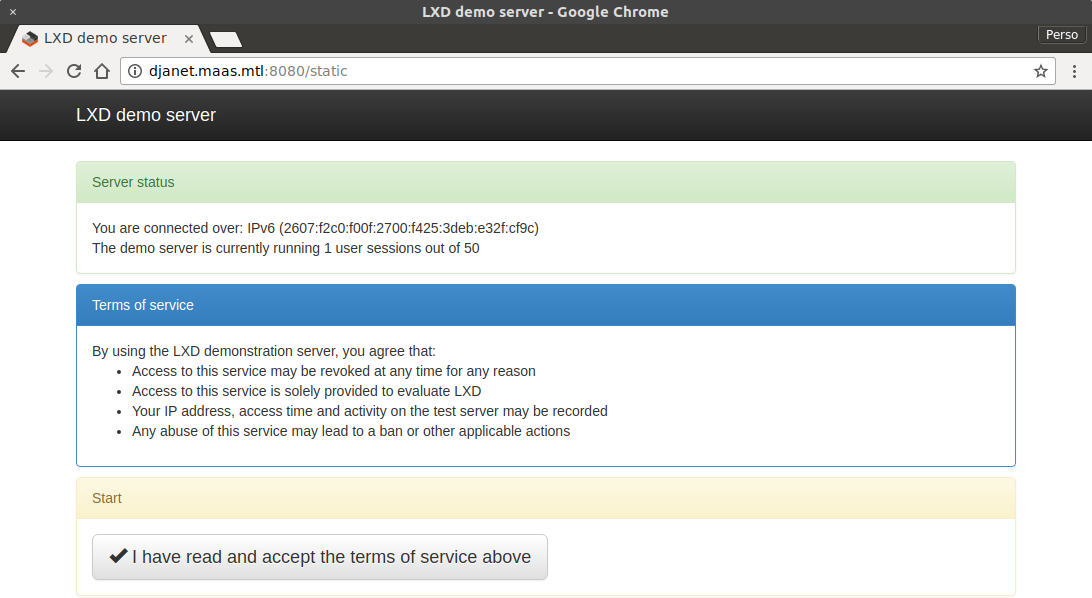
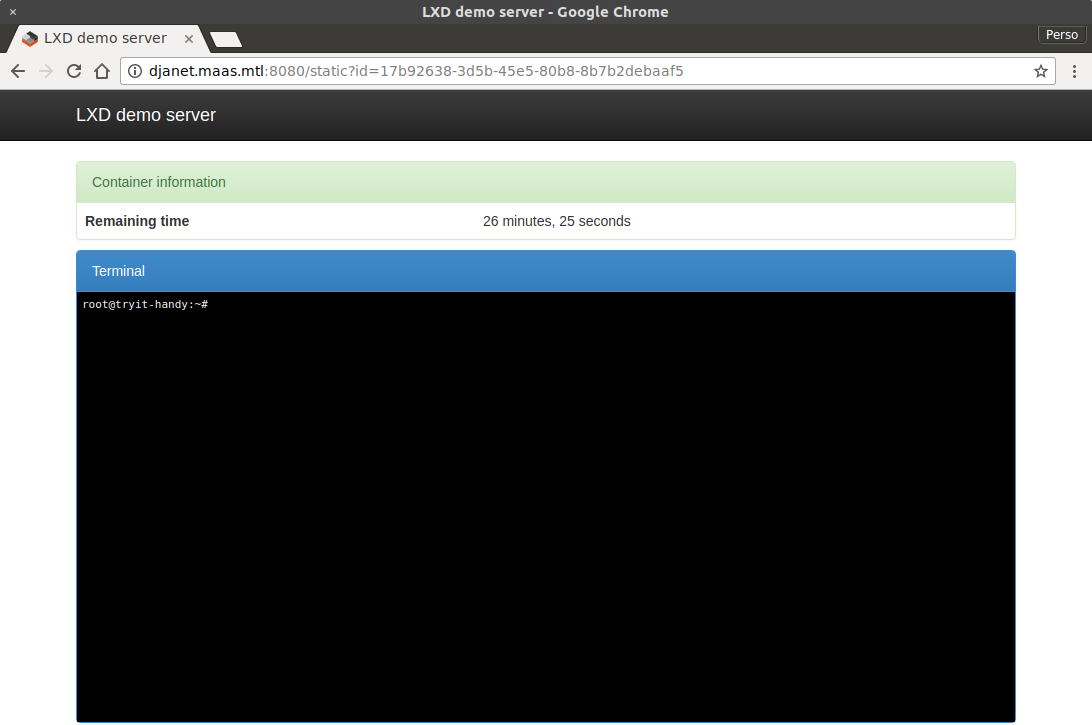
Try LXD online: https://linuxcontainers.org/lxd/try-it
 Github
 Twitter
 LinkedIn
 Mastodon