This year’s edition of the annual Linux Plumbers Conference will be in Vienna, Austria between September 18th and 20th.
I’ll once again be one of the organizers for the Containers and Checkpoint/Restore micro-conference where I’m looking forward to a half-day of interesting topics on containers, namespacing, resource limits, security and the ability to serialize and restore all of that stuff!
We just published our CFP for that micro-conference with a deadline of July 15th for anyone interested in presenting their work. You may also want to look at the extensive list of other micro-conferences and tracks.
As usual for this conference, presenting within one of the many micro-conferences doesn’t provide you a ticket to attend the conference. So anyone interested in attending or presenting should be looking at getting their registration done now while early bird tickets remain!
LPC runs as a hybrid event with remote participation possible through video-conferencing and accessing shared notes. While it’s technically possible to present remotely too, it’s usually preferred to do that in person.
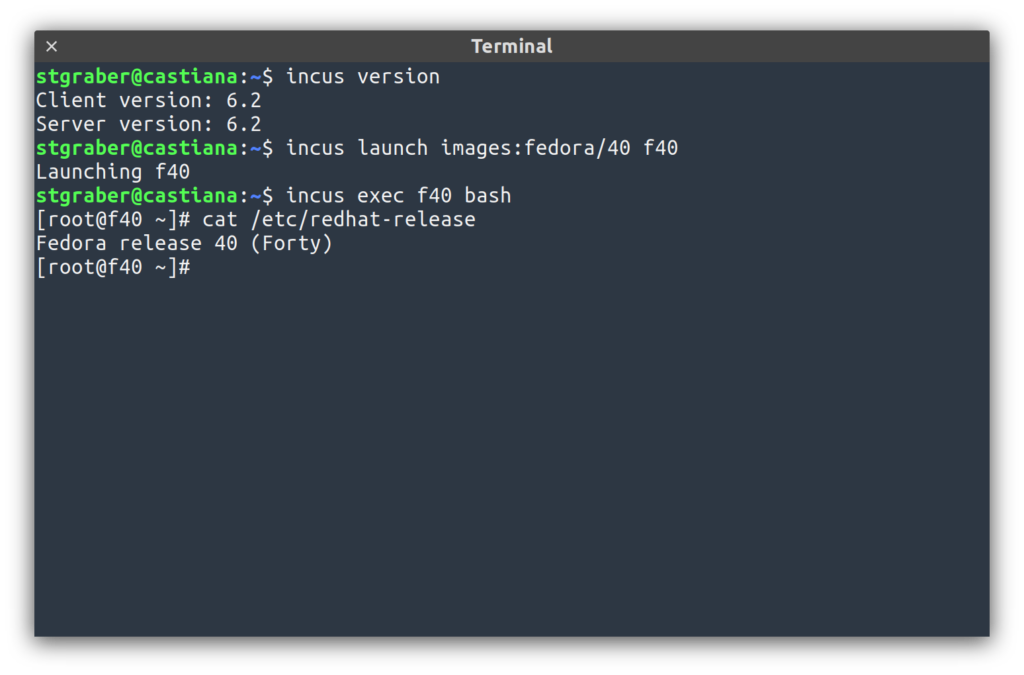
This release is the second one to feature contribution from students at the University of Texas in Austin, there are a couple more features that were contributed by students which will most likely make it into Incus 6.3 at which point we’ll have wrapped up all of those for this year.
If you’d like to try your hands at contributing some code to Incus, we maintain a list of issues for newcomers, primarily issues and features that are well understood and on which we’d be happy to provide mentoring and assistance.
The full announcement and changelog can be found here. And for those who prefer videos, here’s the release overview video:
And as always, my company is offering commercial support on Incus, ranging from by-the-hour support contracts to one-off services on things like initial migration from LXD, review of your deployment to squeeze the most out of Incus or even feature sponsorship. You’ll find all details of that here: https://zabbly.com/incus
Donations towards my work on this and other open source projects is also always appreciated, you can find me on Github Sponsors, Patreon and Ko-fi.
This is the first Incus feature release following our LTS!
As a reminder, feature releases are only supported until the next one comes out, usually on a monthly cadence. Critical production environments should stay on the LTS release instead.
In this release, we have a lot of small quality of life improvements throughout. A lot of those being first contributions from students of the University of Texas at Austin. Expect a lot more of those in Incus 6.2!
The full announcement and changelog can be found here. And for those who prefer videos, here’s the release overview video:
And as always, my company is offering commercial support on Incus, ranging from by-the-hour support contracts to one-off services on things like initial migration from LXD, review of your deployment to squeeze the most out of Incus or even feature sponsorship. You’ll find all details of that here: https://zabbly.com/incus
Donations towards my work on this and other open source projects is also always appreciated, you can find me on Github Sponsors, Patreon and Ko-fi.
Ubuntu 24.04 LTS was released just a few days ago and many Ubuntu users will now slowly plan their upgrades, whether it’s going to be over the next few days, weeks, months or years.
When it comes to running Incus on Ubuntu 24.04 LTS, there are a few options detailed below.
About Incus
Incus is a container and virtual machine manager which aims at providing a cloud-like experience but fully self-hosted and capable of running on just about anything, from a single board computer, to a laptop to a cluster of high end servers.
Incus was created following Canonical’s decision to make LXD a fully in-house project and it is actively maintained by the same team that once created LXD, almost 10 years ago. It’s part of the Linux Containers project and so benefits of all the infrastructure and experience in maintaining stable software over decades.
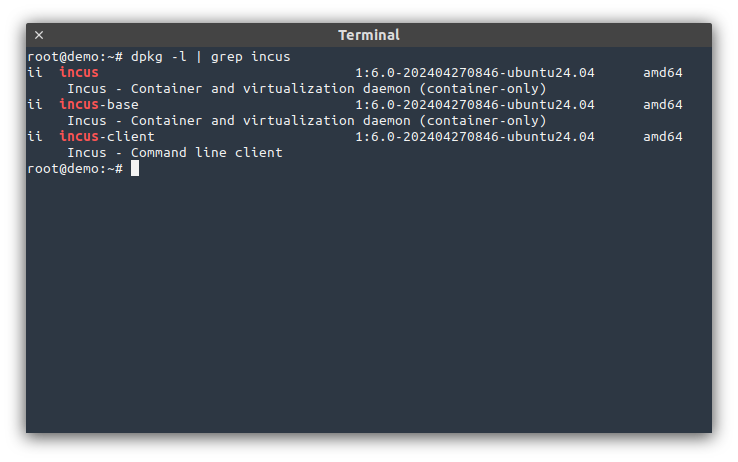
Native Incus packages
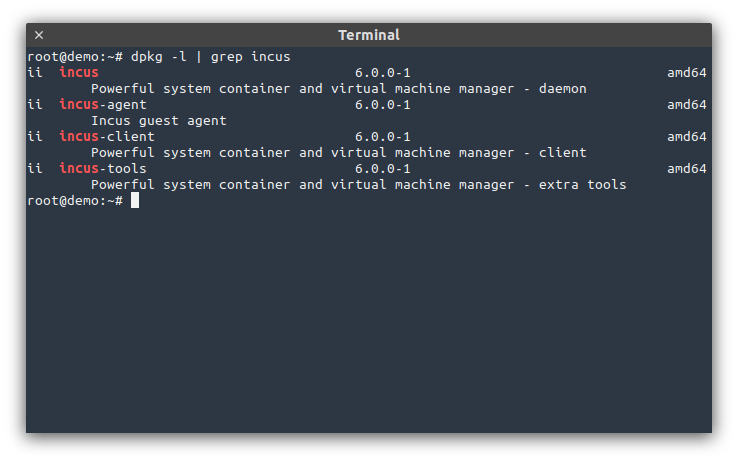
Incus 6.0 LTS is included directly in the Ubuntu Archive, making it very easy to install:
Simple container experience: apt install incus
Container and virtual-machines: apt install incus qemu-system-x86-64
To migrate from LXD: apt install incus-tools
Installing Incus that way is convenient as it doesn’t use external repositories nor does it rely on alternative packaging methods like snaps. That’s also the same set of Incus packages that will be shipped with Debian 13 (Trixie).
On the support front, this is using Incus 6.0 LTS and so uses a version of Incus that will be supported upstream for the next 5 years. The package itself is in the universe repository and so doesn’t come with security updates provided by Canonical as part of stock Ubuntu.
However Canonical now provides additional security updates to Ubuntu Pro users which includes both security updates and support for all 23000 packages in universe.
Those packages are quite different from the ones shipped directly in Ubuntu or Debian as they also directly include the most critical dependencies so that the whole solution can be tested and validated as a single unit.
That makes it much easier for me to provide timely fixes as well as commercial support for users of those packages. It also allows for decoupling the Incus installation/version from the OS version, making major system updates easier.
Packages are available for Ubuntu 20.04, 22.04 and now 24.04 LTS as well as Debian 11 and Debian 12.
Moving from LXD
Ubuntu 24.04 LTS ships with LXD 5.21, migrating from LXD 5.21 to Incus 6.0 LTS can be done very easily by running the “lxd-to-incus” command.
It supports very quickly and reliably migrating data from LXD installations as old as LXD 4.0.0 all the way to and including LXD 5.21.
Running Ubuntu 24.04 LTS on top of Incus
If you’re just looking at using Ubuntu 24.04 LTS but don’t want to upgrade your whole system yet, or you’re running another Linux distribution and just want to experiment with Ubuntu 24.04 LTS, you can easily do that through Incus.
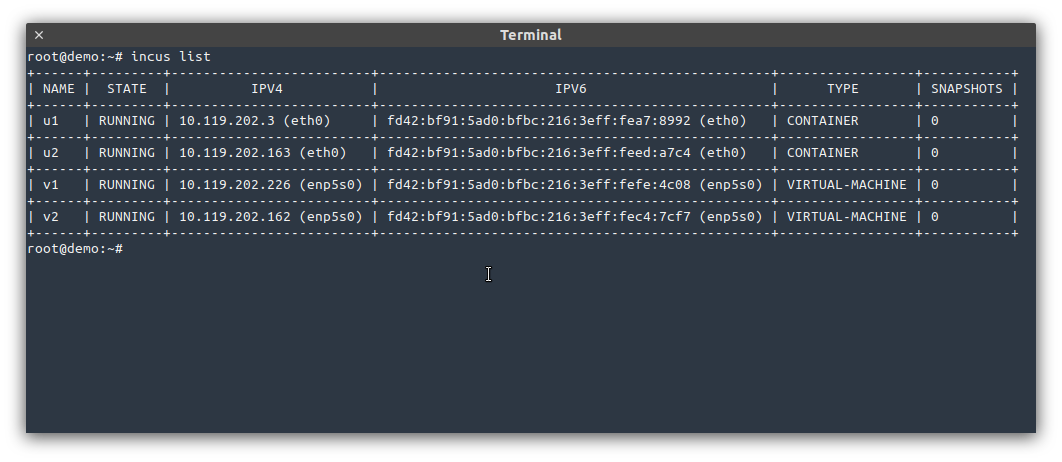
Incus has the following images ready for use:
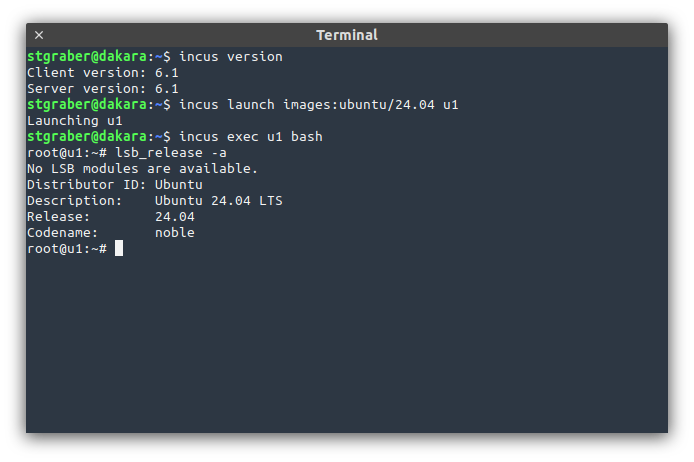
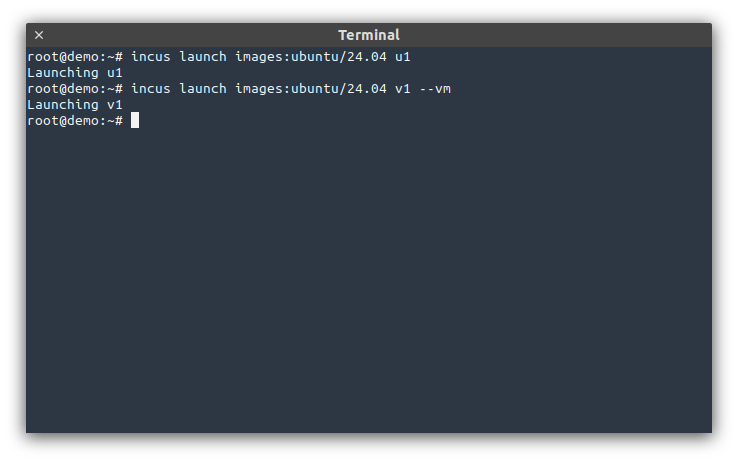
Ubuntu 24.04 LTS base image
Our default Ubuntu 24.04 LTS image. It’s pretty lightweight while still containing most expected tools for day to day operation.
It’s available for both containers (125MiB compressed) and virtual-machines (270MiB compressed).
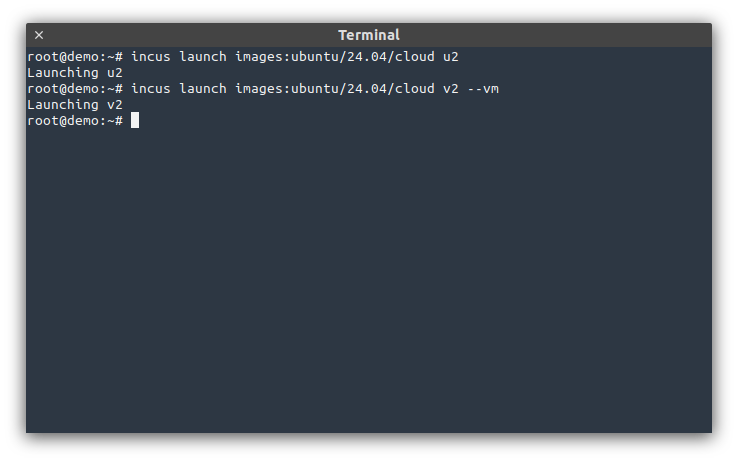
Ubuntu 24.04 LTS cloud image
Our cloud-init enabled Ubuntu 24.04 LTS image, it’s basically the same as the default image but with cloud-init enabled for automated provisioning.
It’s available for both containers (150MiB compressed) and virtual-machines (305MiB compressed).
Ubuntu 24.04 LTS desktop image
Our desktop (Gnome) Ubuntu 24.04 LTS image, it boots directly into a pre-created user account and makes it extremely easy to try the latest Ubuntu Desktop experience.
This image is only available as a virtual-machine (1.1GiB compressed).
Conclusion
Hopefully this provided a pretty good overview of how to get Incus up and running on Ubuntu 24.04 LTS, either by moving from an existing LXD installation over to Incus or installing it fresh.
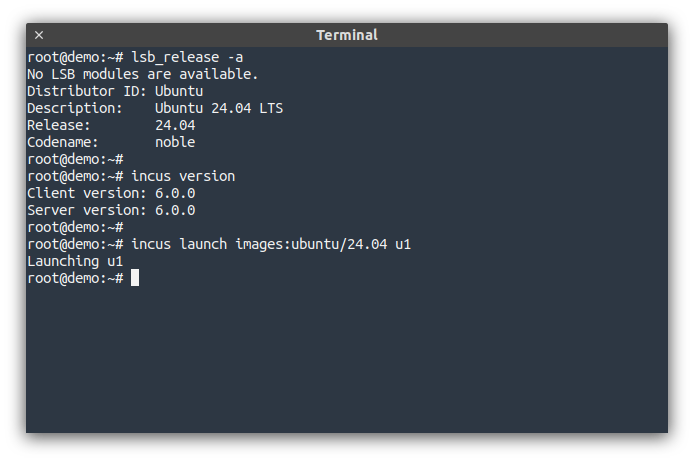
If you’d just like to learn more about Incus without having to install it locally, our online demo service is as great for that as ever!
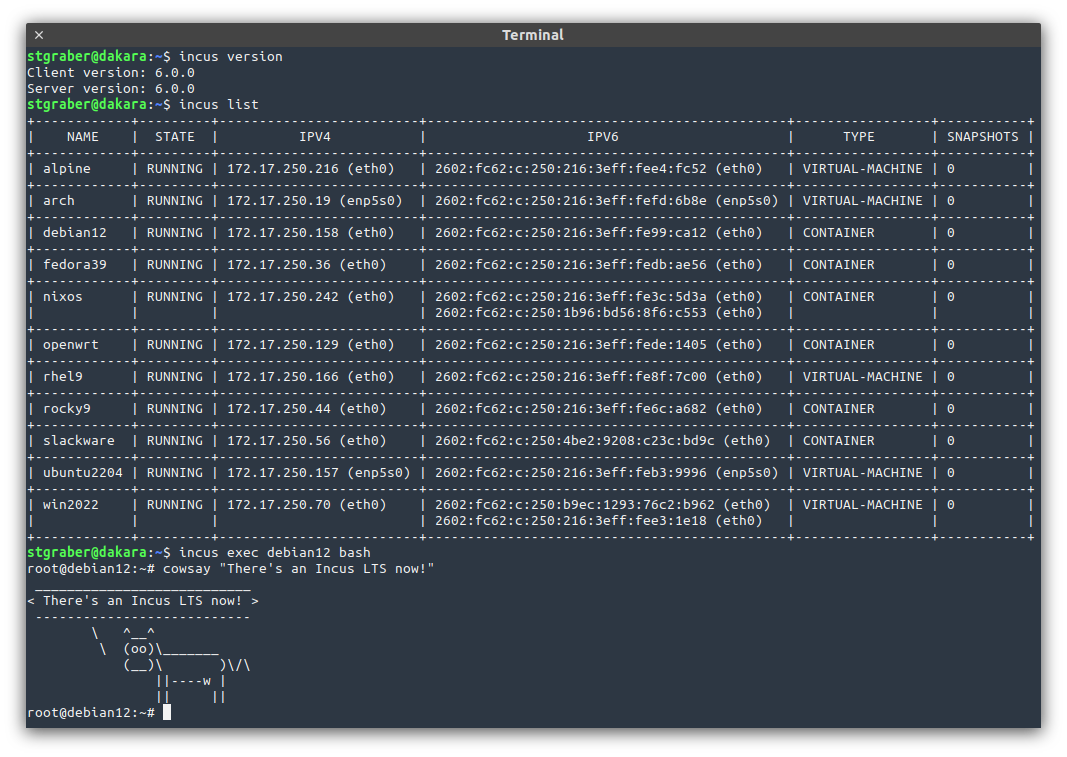
And it’s finally out, our first LTS (Long Term Support) release of Incus!
For anyone unfamiliar, Incus is a modern system container and virtual machine manager developed and maintained by the same team that first created LXD. It’s released under the Apache 2.0 license and is run as a community led Open Source project as part of the Linux Containers organization.
Incus provides a cloud-like environment, creating instances from premade images and offers a wide variety of features, including the ability to seamlessly cluster up to 50 servers together.
It supports multiple different local or remote storage options, traditional or fully distributed networking and offers most common cloud features, including a full REST API and integrations with common tooling like Ansible, Terraform/OpenTofu and more!
The LTS release of Incus will be supported until June 2029 with the first two years featuring bug and security fixes as well as minor usability improvements before transitioning to security fixes only for the remaining 3 years.
The highlights for existing Incus users are:
Swap limits for containers
New shell completion mechanism
Creation of external bridge interfaces
Live-migration of VMs with disks attached
System information in incus info --resources
USB information in incus info --resources
For those coming from LXD 5.0 LTS, a full list of changes is included in the announcement as well as some instructions on how to migrate over.
The full announcement and changelog can be found here. And for those who prefer videos, here’s the release overview video:
And as always, my company is offering commercial support on Incus, ranging from by-the-hour support contracts to one-off services on things like initial migration from LXD, review of your deployment to squeeze the most out of Incus or even feature sponsorship. You’ll find all details of that here: https://zabbly.com/incus
Donations towards my work on this and other open source projects is also always appreciated, you can find me on Github Sponsors, Patreon and Ko-fi.


 Github
 Twitter
 LinkedIn
 Mastodon